In the current day and age, using the latest technologies such as NodeJS is significant. Most people prefer DreamHost as their hosting provider. So, people often wonder: Does DreamHost support NodeJS?
This article not only answers whether you can host NodeJS apps on DreamHost but it will also take you through the process of NodeJS installation (if it is not pre-installed).
Let’s start to answer the main question!
Does DreamHost support nodeJS?
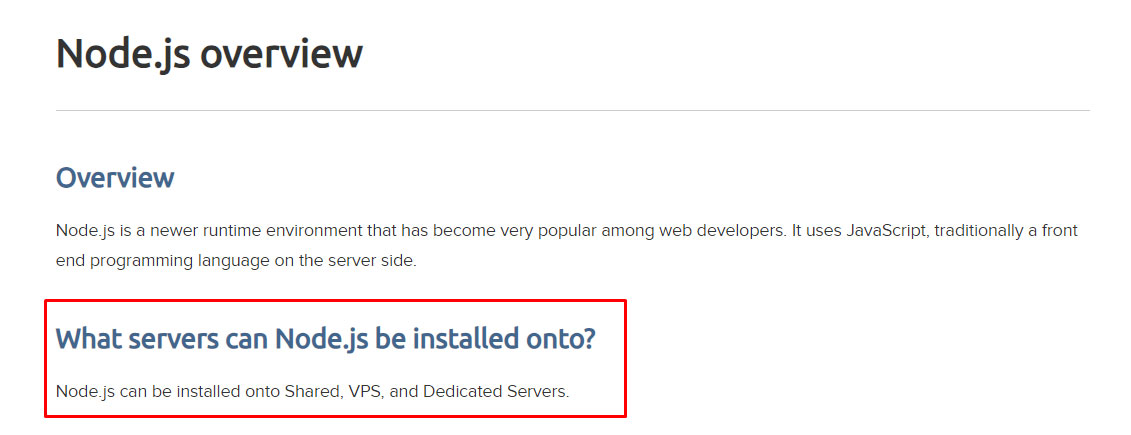
Definitely! DreamHost supports NodeJS for all their hosting services including VPS, shared, and dedicated servers.
However, it doesn’t come pre-installed. You will have to manually install it on your server.
The article first covers how to install NodeJS on DreamHost shared hosting and then onto a VPS. However, It is highly recommended to follow the entire guide without skipping any sections.
There are many smaller commands or troubleshooting steps which are applicable to the entire DreamHost. Therefore, missing anything might cause failure in successful installation.
So, make sure to stick to it!
Let’s start the guide for installation of NodeJS.
In a shared hosting environment, DreamHost offers NodeJS installation through Passenger. Wondering what Passenger is? It is a web server app that simplifies deployment.
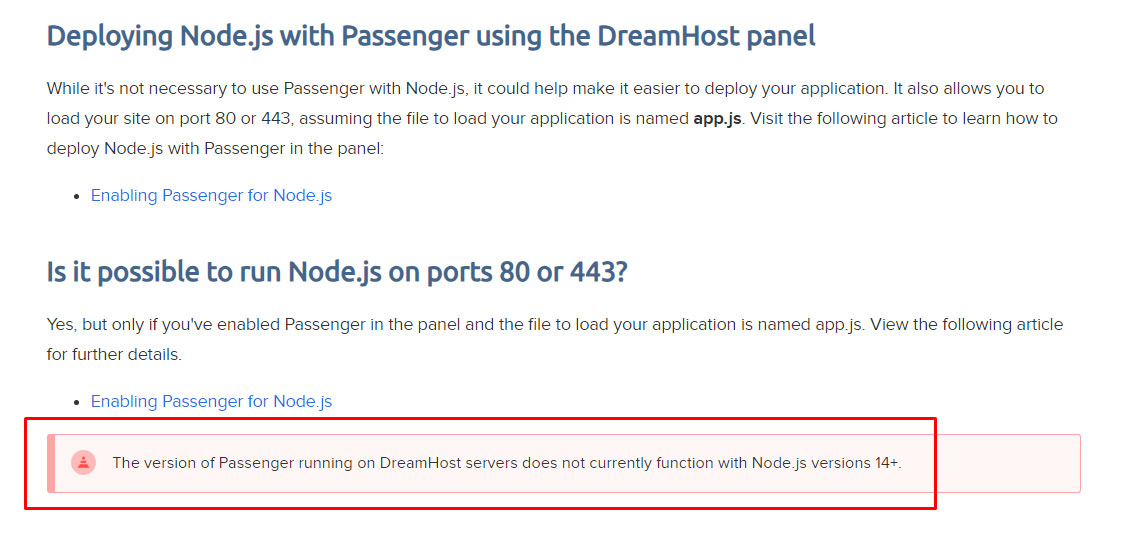
However, the Passenger running on the DreamHost servers doesn’t support Node.js 14+ versions.
Let’s get started on the installation of NodeJS in shared hosting. This guide will be divided into two main parts; (a) covers installation of NodeJS on DreamHost shared hosting; (b) deals with its configuration.
Here are the steps to install it.
- Log in to your DreamHost panel.
- Head over to the “Goodies” section in the main menu.
- Click on “Managed Installed Applications” under the goodies section.
- You can then select the domain name where you want to install NodeJS.
- Now, you won’t see Node.js in the list. So, click on “Custom” installation. Once you do it, you will have to enter a few details:
- Installation directory: It’s the directory where you want to install Node.js. For example, it is /home/yourusername/nodejs or the one you prefer.
- Application URL: This is the URL where you can access the app.
- Proxy mode: Usually, people have to select “No proxy”. However, you can select the one that you need.
- Application root: You can enter the path of your app’s directory.
- You can then select “Install it for me now”.
- The next is to find SSH details of your server as you will need it to configure NodeJS. You can find these details in the “Advanced options” in your managed domain.
Now you have set up the environment for your Node.js in your DreamHost server. The next part is to configure it and install Node Version Manager (nvm).
To do it, you must log in to your server via SSH. For that, you can use tools like Putty. You can then install it using the steps below.
- The first step always begins with updating the system’s package manager with the latest packages. It is can done by issue following command (don’t type in the dollar sign):
- Now, you can install nvm. The installer script is located on Github. So, we will use a Github URL to run the installer script. To do it, issue following command:
- You can then activate nvm. It’s a short and simple command. It will use the same settings that we did above:
- Now, as a shared hosting user, you will have to check if the script isn’t blocked by any other apps. For that, the following command can be issued:
- If it doesn’t work and shows you “No such directory”, it means that you made some mistake in running the above command. In that case, you can try the same process again.
- After that, you can install the Node.js version (DreamHost supports various NodeJS versions). To see a list of available Node.js versions, run the following command:
- As mentioned earlier, higher versions won’t work with DreamHost Passenger. So, keep that in mind. After getting a list of available NodeJS versions, run the command given below with the version number that you plan on installing:
- This command, sometimes, throws a fatal error that you have nothing to worry about. Just run the below command and it will get the error fixed. It is suggested to bookmark this article as you will have to run this command every time you do a NodeJS installation.
- Now that you have installed it, you will have to make it a default version as the server has the ability to run multiple Node versions.
- The last step is to verify that you have successfully installed NodeJS and its version. Following command can be used for verification:
Now, the main part is complete. You will then have to refer to your application’s instructions for further configurations. Till now, we have answered the question “Does DreamHost support Node JS?” and gone through the installation of Node.js version 13 on the shared hosting.
After the installation of NodeJS, you can refer to your applications documentation for setting up your NodeJS applications.
Just like nvm, sometimes there is also a need for the Node Package Manager (npm). However, shared hosting apps usually don’t need it. If it’s needed, the application documentation will cover it.
Basically there are two ways to install the node dependencies. If you have downloaded the libraries in your local directory, you can run the following command for installation.
You need to make sure that installation path is specified.
In the same way, if your libraries are located in the GitHub repo, you can also enter the URL.
But what if you don’t know what the dependencies are? In that case, you can install all dependencies just by a single command which is as follows:
That’s pretty much it. Now, you can continue with your NodeJS application development and documentation. If you are still facing an error, it’s probably due to the .htaccess file.
People usually face it when they are installing the NodeJS on DreamHost VPS or a dedicated server.
So, we will see about it in the next section. Don’t worry, you can use the same steps in your shared hosting too.
How to install nodejs on DreamHost VPS?
DreamHost VPS supports two ways for NodeJS Installation. Either you can use the same method as above and it will work absolutely fine although there are a few changes that we will discuss later on.
The preferred method is via Passenger. The steps involving Passenger are a bit different. Let’s see it step by step.
To do it, you can first enable the NodeJS from the passenger. Let’s see how it is done.
- Log in to your DreamHost panel and head over to manage websites.
- Now, you need to look for the website where you want to add NodeJs support.
- Scroll down to the “Additional Options” section. You will find a “Modify” option. Click on it.
- It will open a configuration-type panel. You can enable Passenger and then enable NodeJS.
- The rest two options “RVM” and “NodeJS” are only visible after you enable the Passenger option. You just need to enable NodeJS and not RVM.
- Once you enable NodeJS, it will ask for a directory. In case you already have a public directory created, it will be installed there otherwise, DreamHost will create that for you.
- It will take a few minutes to set it up. Usually, the process takes between 5 to 10 minutes. You can enjoy a coffee break or continue reading this article.
If you have been following the article since the start, you will know the steps we followed in the shared hosting. Now, the steps in case of VPS are different than that of shared hosting.
You can still verify whether Node is installed or not. To do it, you can enter the following command in the terminal of VPS after the installation process.
Now you can simply check for the version that is installed.
- The following command will help you to know the details of the current node version.
- There is a good chance that the software version you will get will be outdated. So, we will use the most recent version from the Passenger.
- Issuing the above command will install nvm’s version 13. You can run the –version command again for verification of installation.
If it doesn’t work, you will have to make the changes in your .htaccess file. Let’s quickly go through the steps to add the proper configuration lines to your .htaccess file.
To view the contents of the .htaccess file if they are proper or not, `cat` command can be used. Please make sure to issue the `cat` command from the username and domain that you are using.
Similarly, if you have set the NodeJS app in another folder, you can change the path too.
Once you run the code, you should get the following output.
PassengerNodejs /home/USERNAME/.nvm/versions/node/13/bin/node
The 13 in the above output states the version number of your NodeJS. So, if you have installed another version, you can replace it with your version.
Just in case you make the changes and none of the changes are visible on the app, you will have to restart the file. You can do it by running the following command:
In the future, if you want to restart your server then you just need to run the following command:
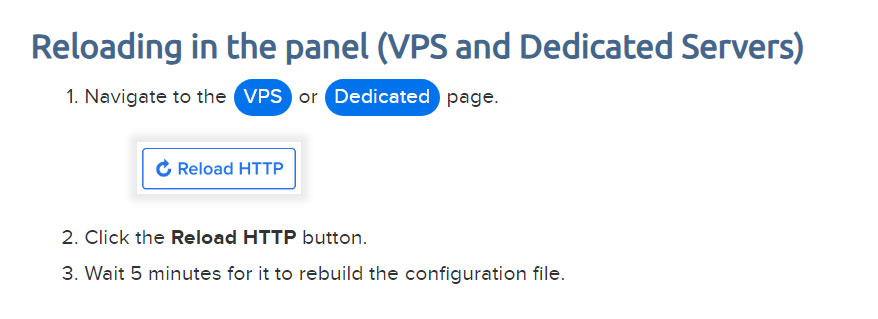
If it doesn’t work, you can always contact support for help. The official documentation of DreamHost suggests the same. Alternatively, if you don’t want to write these lines, you can also click on “Reload HTTP” in your VPS panel.
It will sort it out automatically!
Here’s an image from the official documentation.
Lastly, if you want to use NodeJS without the Passenger app, here are the steps:
As we have already seen the configuration and commands, we will avoid them here for the sake of keeping this guide easy and simple.
- Set the /public directory on your main app.
- You have to run the app in a non-privileged port between 8000 and 65535.
- You will also have to add your domain name in the proxy section.
- The next step is to install NodeJS and NVM. For that, you can follow the steps given in the shared hosting part.
- Thereafter, enter the following code in the app.js file where 8002 is the port.
var server = http.createServer(function (request, response) {
response.writeHead(200, {“Content-Type”: “text/plain”});
response.end(“SUCCESS”);
}).listen(8002);
- Run the app.js file by entering the following command.
That’s it, your app is now running.
Conclusion
DreamHost allows all types of the latest and trending technologies including NodeJS. We hope this article addresses not only your question “Does DreamHost support Node Js?” but also guides you through the entire process for speedy setup.
In case of any issues, don’t hesitate to contact their support team for help. They will get your issues sorted out as soon as possible.


Web Hosting Expert, Content Writer, SEO Consultant, and Web Developer with over 10 Years of Experience.
He has a passion for technology and has spent over a decade reviewing and testing web hosting companies to provide his readers with honest and accurate reviews of the companies he had experiences with.
Tommy loves helping people and has helped hundreds of people start their own successful blogs.